Custom Fonts
The Custom Fonts panel lets you upload your own font files and use them throughout Atlantisboard. Uploaded fonts become available in font selectors across Login Branding, App Branding, and the default UI font setting.
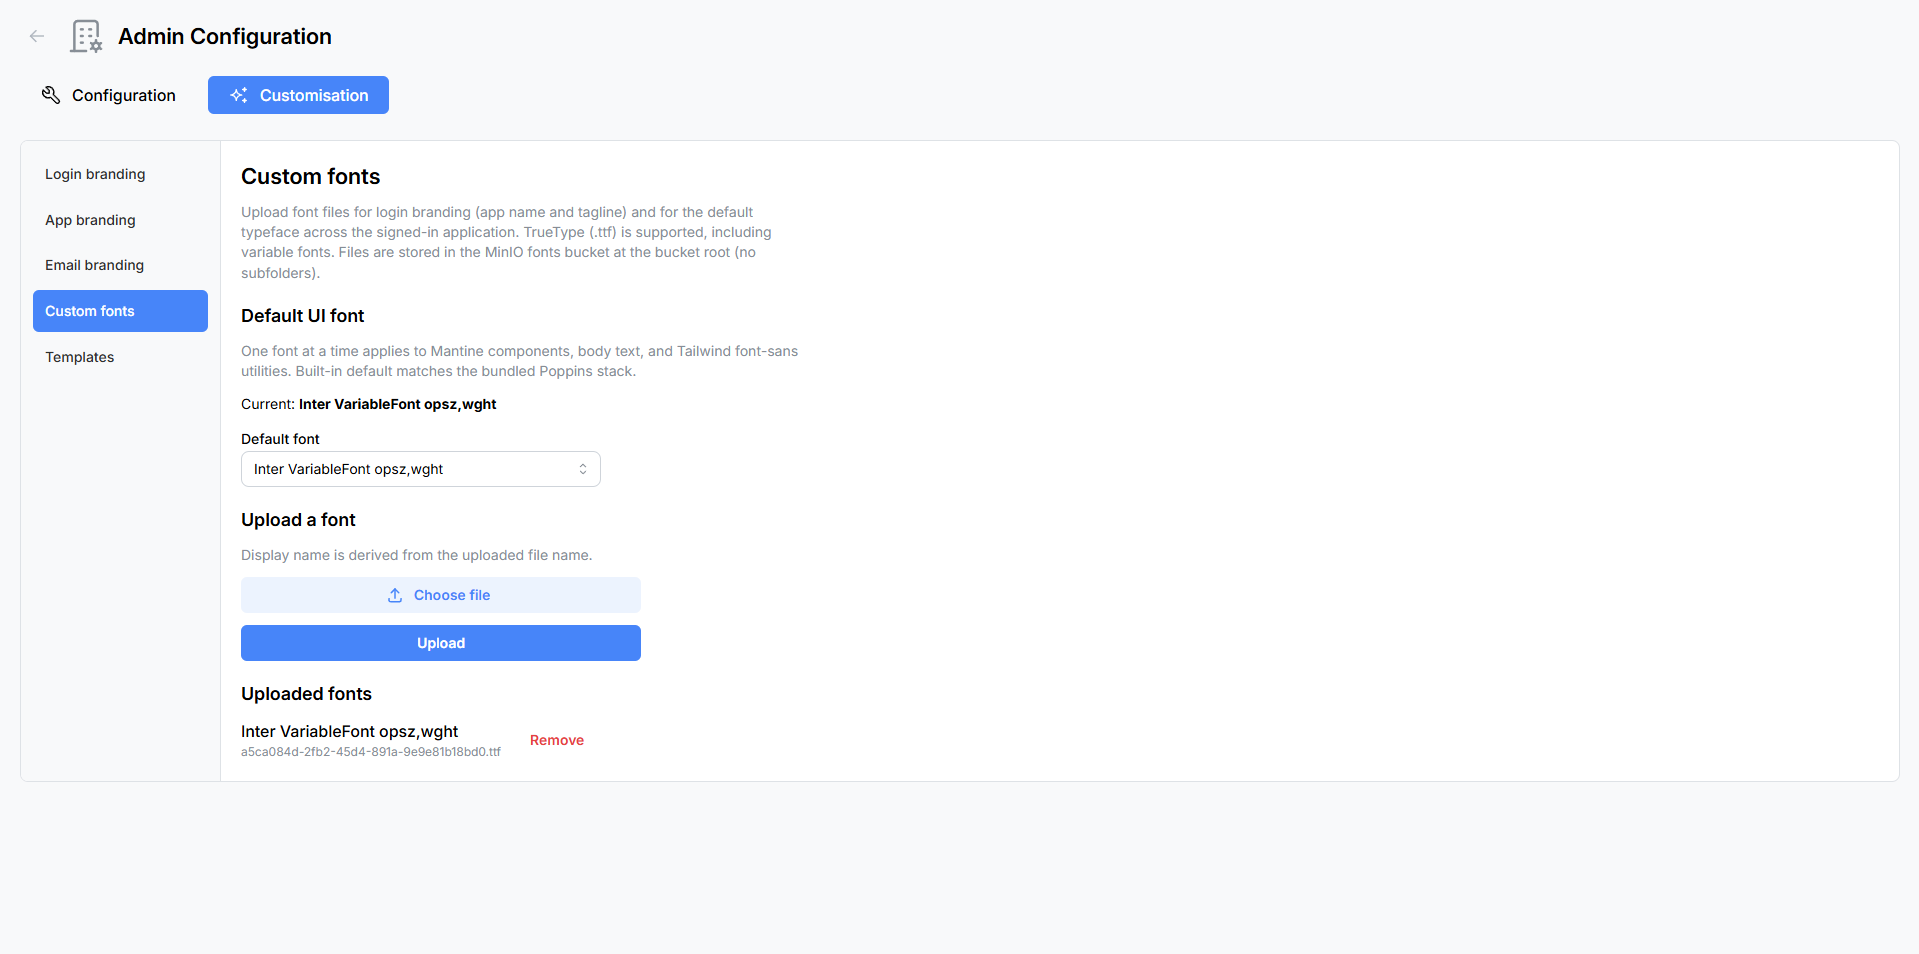
Navigate to Admin → Customisation → Custom Fonts to open the panel.
Default UI Font
At the top of the panel, a Default UI Font selector lets you choose the font applied across the entire Atlantisboard interface.
| Option | Description |
|---|---|
| Poppins | The built-in Atlantisboard font — a clean, modern sans-serif. This is the default. |
| System UI | Uses the operating system’s native font stack (San Francisco on macOS, Segoe UI on Windows, etc.). |
| Custom fonts | Any fonts you have uploaded appear as additional options in this selector. |
Changing the default UI font affects all interface text — navigation bars, buttons, labels, form fields, cards, and modals.
Uploading a Font
To add a custom font:
- Click the file input in the “Upload a Font” section.
- Select a font file from your computer. Accepted formats:
.woff2(recommended — best compression and browser support).woff.ttf.otf
- Click the Upload button.
- The font is uploaded to the server and immediately appears in the font catalog below.
Tip: For the best performance and widest browser compatibility, prefer
.woff2files. Most modern font distributors (Google Fonts, Adobe Fonts, etc.) offer.woff2downloads.
Font Catalog
The catalog lists all uploaded custom fonts with their names.

Each entry displays:
- Font name — derived from the font file metadata.
- Remove button — deletes the font from the server (see below).
Deleting a Font
To remove an uploaded font:
- Click the Remove button next to the font in the catalog.
- A confirmation modal appears to prevent accidental deletion.
- Confirm to permanently delete the font file.
Note: If a deleted font is currently selected as the default UI font or used in any branding configuration, those settings will fall back to the next available font (typically Poppins or System UI). Review your Login Branding and App Branding settings after removing a font.
Where Custom Fonts Appear
Once uploaded, custom fonts become available in the following font selectors:
| Location | Setting |
|---|---|
| Custom Fonts panel | Default UI Font selector (this page). |
| Login Branding | App name font family and tagline font family selectors. |
| App Branding | Default UI Font selector. |
Custom fonts are not available in email templates, as email clients do not support custom web fonts reliably. Email templates use web-safe system fonts.
Storage
Uploaded font files are stored in the MinIO fonts bucket. They are included in backups and will be restored when you restore from a backup archive.
Related Pages
- Login Branding — use custom fonts for the app name and tagline on the login page.
- App Branding — set the default UI font for the entire application.
- Backup & Restore — font files are included in backup archives.